Updated February 9th, 2026
Screen sharing made easy
If you tend to live stream a lot or frequently share your screen while live streaming, you may be looking for a solution that allows you to do this with little to no effort. We’re talking about sharing your screen during a live in less than 5 minutes. Moreover, you can do this on your own website, from your browser, without any 3rd Party Interference.
By the end of this article, you will learn exactly how you can share your screen on a live stream with WpStream. By following the simple steps below, you can present those slides, show your project, and captivate your audience by bringing them into your own screen.
The first thing you will need to do is install WpStream and register if you haven’t done so already. After you have registered and signed into your WpStream, go ahead and create a channel where you will be live streaming from.
Setting up your live stream
To create a channel, make sure you go to WpStream and then to ‘Channels’. Click on “Add new Pay-Per-View channel”. Note that for this tutorial, I will be demonstrating using a PPV channel that you can sell to viewers.
Essentially, your viewers will pay to watch your livestream. Of course, you can also set up a free channel where viewers can watch for free. To find out how you can create a free channel, please check out our documentation and then come back to this article.
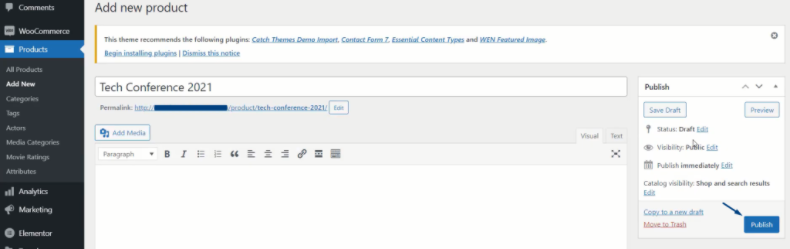
You will need to add a title for your live stream and you can also add a description, tags, categories, a featured image, etc. Make sure you optimize the text and keyword to fit SEO standards!
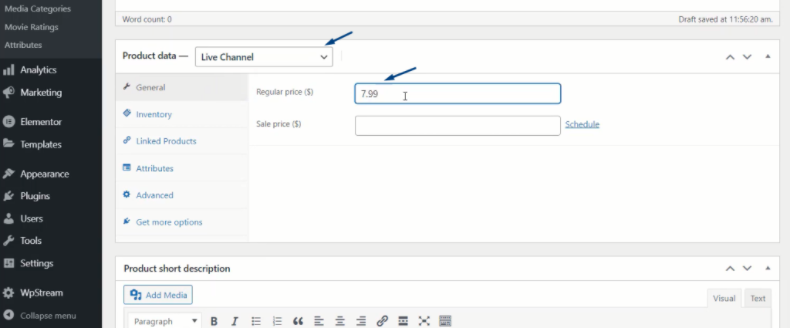
Next, make sure the ‘product data’ is a ‘live channel’, add a price, and you can also add a sale price if you want to offer your live stream at a cheaper rate depending on the season or just because you are feeling generous.
Publish your channel. This will make your channel ‘official’ and ready to go live at any time. This channel will also remain until you choose to delete it and you can come back and stream at any time, anywhere.
Check out all the available settings, including the option to record your live stream (and create a Video-On-Demand later), show viewer count, encryption, etc. Go down the list and see what you would prefer having on your live stream.
Once you are happy with your settings, you can ‘TURN ON’.
Grab a snack as your live event starts up. This will take about 1 minute.
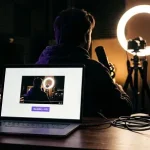
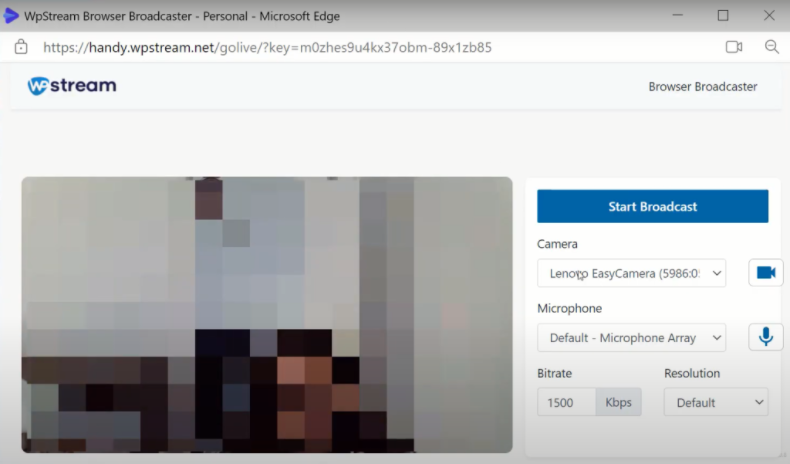
Once the event has started, you will have two options for going live. One is going live from your browser, and the second is using an external broadcaster. Today, we are going live from the browser, more specifically, I am using Microsoft Edge.
Once you click on “Go live from browser”, you will see a pop-up window. Here, you can pick your camera, mic, adjust your bitrate, and resolution.
Set up screen sharing
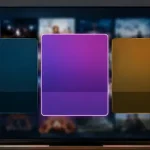
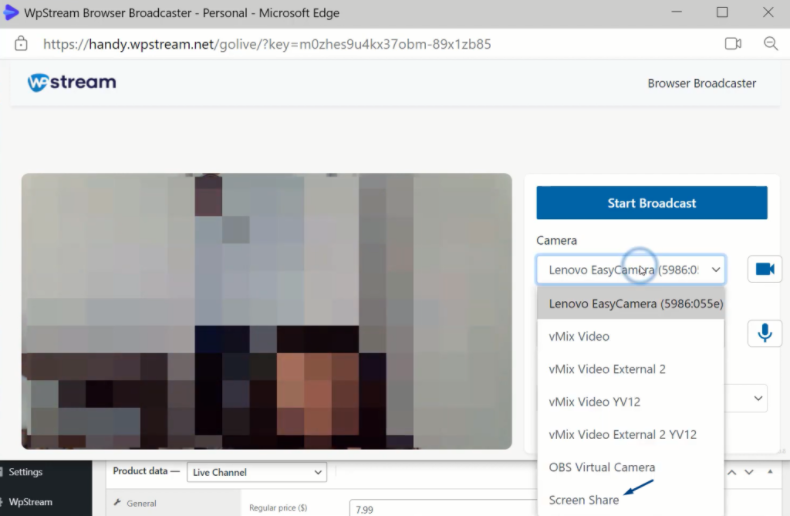
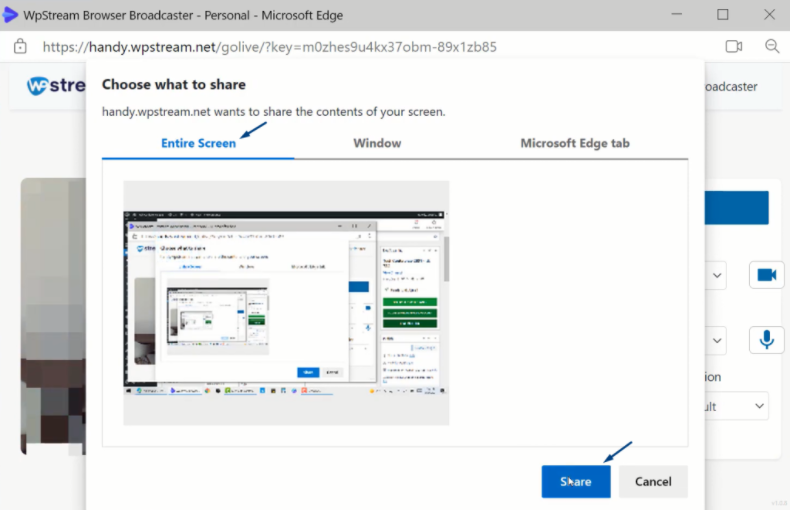
For the camera, you will choose “Screen share” as seen below
Another pop-up window will show up where you will choose what you want to show on the live:
- The entire screen
- Your Window
- The Microsoft Edge tab (varies according to the browser you are using)
I am choosing the entire screen and then clicking on ‘Share’
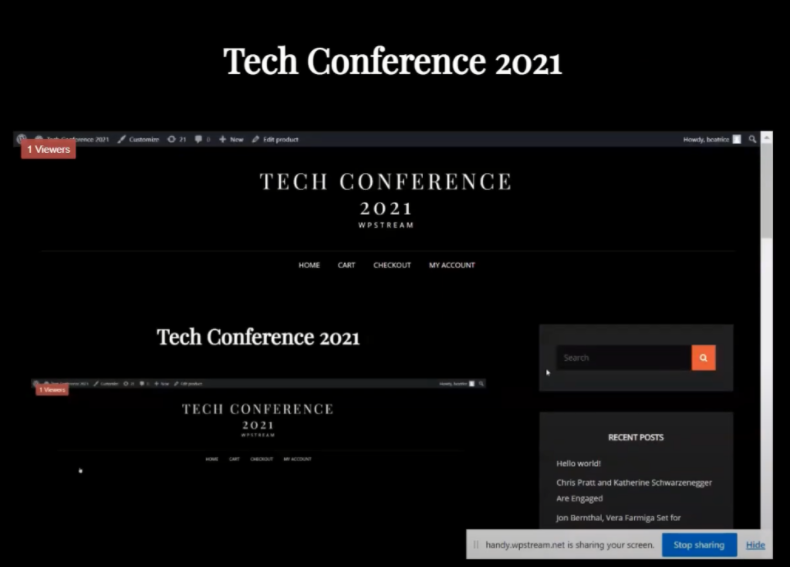
I am taken back to the browser broadcast and I can now see my screen on the preview.
‘Start Broadcast’.
Go back to WpStream and click on “View Channel”. This will take you to the page with your livestream
As you can see in the image, I cannot yet view the live stream because I have not purchased it. This is how it will appear to your viewers. In order to view your live stream, they will have to add the product to their cart and continue to check out.
After their payment has been made, they can click on the link on their confirmation page and come back to the livestream and be able to tune in.
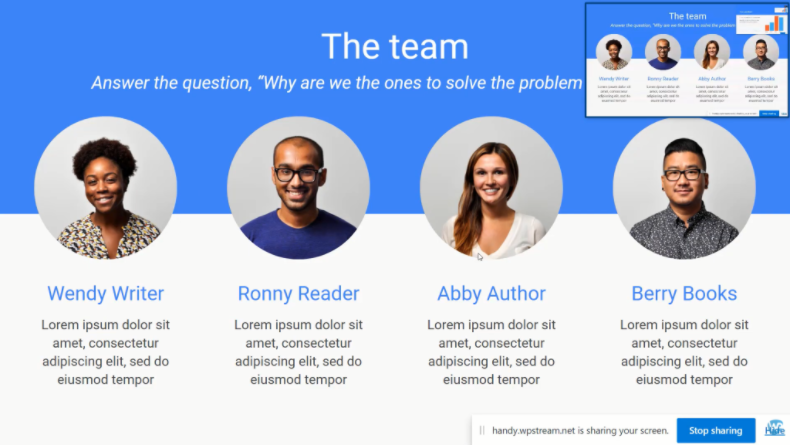
To demonstrate how the live stream will look like, I set up a PowerPoint presentation that I will be live streaming.
I clicked on ‘Picture-in-Picture’ view where I can drag the small live stream player around anywhere on screen. The small screen on the top right corner is what your viewers can see! Once your broadcast has ended, you can go back to the pop-up window and click on ‘Stop Broadcasting’. This will end your live stream and your screen sharing session.
Conclusion
Now you know how you can share your screen on a live stream with WpStream. The only thing left to do is to get started. Go live on your WordPress website with WpStream in less than 5 minutes!
Start your free trial with WpStream today and experience the ability to broadcast live events, set up Pay-Per-View videos, and diversify the way you do your business.
Watch the video tutorial and subscribe to our YouTube channel for more video content!

Table of Content