Updated February 9th, 2026
In an era dominated by digital content, video streaming has rapidly emerged as the standard modus operandi for watching movies, tuning into our cherished TV shows, experiencing live events, and so much more.
The technology behind streaming has become increasingly accessible, opening the floodgates of opportunities not only for the end consumer but also for content creators and businesses alike.
But have you ever paused and pondered about the intricate mechanics behind your preferred streaming platform? Ever wondered how a video metamorphoses from a mere file on a server to an engrossing movie on your screen?
The answer to these fascinating questions is video streaming servers.
In this extensive guide, we’re going to dive headfirst into the complex yet intriguing world of video streaming servers. We’ll shed light on what exactly a video streaming server is, why you should (not?) build your own, and how you can set up the server from scratch.
For those daunted by the prospect, or those simply looking for an easier alternative, we will discuss WpStream – a versatile WordPress plugin that places live streaming and video sharing within everyone’s grasp, regardless of their technical prowess.
Intuitive, yet capable of accommodating more sophisticated setups, WpStream allows for complete control and ownership of your content, making the dream of running your own streaming service a reality.
So, without further ado, let’s begin!
What is a video streaming server?
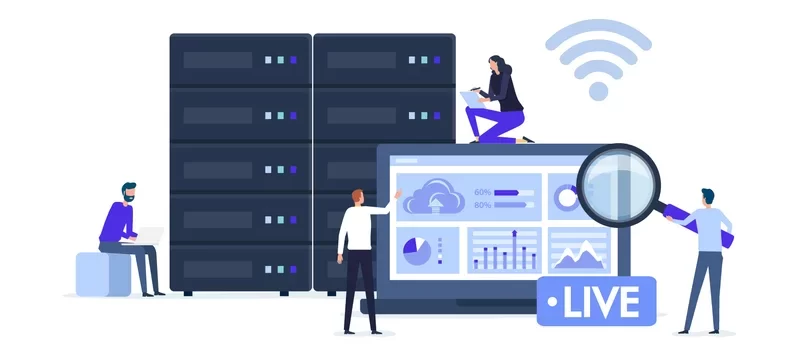
A video streaming server is a specialized type of web server, imbued with Real Time Streaming Protocol (RTSP) functionality, designed to transmit live or on-demand video content to viewers across the globe via the internet.

These robust streaming servers are the heart of your favorite free streaming platforms like YouTube Live, Twitch, and Facebook Live, and professional streaming services like WpStream. They form the core backbone, ensuring the seamless delivery of riveting video content right to your device.
When it comes to disseminating your video content over the internet, you essentially have three viable options to choose from:
1. Build your own streaming server
This option provides you with absolute control over your stream’s setup and delivery, tailoring each aspect to meet your specific needs. However, this route requires a firm technical grasp, as you’ll need to handle the intricacies of setting up the server all by yourself.
This isn’t just about buying hardware; it involves setting up the server software, configuring network settings, ensuring sufficient bandwidth, and managing ongoing maintenance and troubleshooting. It’s a path that can yield great rewards, but it’s not one to be undertaken lightly.
2. Leverage a free streaming platform
If the prospect of setting up your own server seems daunting, you might consider this option. Platforms such as YouTube Live, Twitch, and Facebook Live cut out the laborious task of server setup, offering a ready-to-use platform for you to stream your content.
However, while these platforms may be free and relatively easy to use, they come with their own limitations. You may have to relinquish some control over your stream’s content, appearance, monetization options, and the data generated by your streams.
In essence, you’re trading off control for convenience.
3. Use a professional streaming service
For those seeking a middle ground, a professional streaming service like WpStream could be the answer. While it comes with a higher price tag than a free platform, it offers more flexibility and control over your streams.
These services are designed to be simple enough for anyone to use, yet sophisticated enough to cater to more complex requirements. They offer the advantage of maintaining control over your content and data, with a robust infrastructure already in place to deliver your streams to the world.
Selecting the best method to deliver your content depends on your specific needs and circumstances. Your choice should align with the following aspects:
- Your technical prowess.
- Your desired level of control.
- The resources at your disposal.
To help you decide which method is best for you, let’s explore the first option – building your own streaming server – in a bit more detail.
Why build your own streaming server?
There’s an undeniable allure to the prospect of constructing your own video streaming server. Crafting your own solution can offer a host of advantages that can give you a unique edge over conventional third-party streaming platforms, including:
Customization
One of the most significant advantages of building your own streaming server is the extent of customization it allows. You can exercise granular control over every aspect of the streaming process, from tinkering with the video encoding settings to determining server capacity, and much more.
You can fine-tune each facet to align perfectly with your specific needs, enabling a streaming experience that is truly personalized.
Ownership and control
With your own server, all your data stays securely in-house. This can be a crucial factor for companies dealing with sensitive content, or for those who place a premium on maintaining full control over user data. You are not bound by the rules and restrictions of third-party platforms, providing you with the freedom to operate as you see fit.
Cost efficiency at scale
For organizations with a large user base, owning and managing your own server can become more cost-effective in the long term. Although there’s a significant initial investment, the ongoing costs can be lower than paying for a third-party service, particularly as your user base grows and your streaming needs evolve.
Branding
Operating your own server allows you to brand your platform exactly as you want. Your video player and platform can be free of any third-party logos or watermarks, offering a professional and cohesive appearance that aligns with your brand identity.
However, while these compelling advantages can make the idea of building your own streaming server attractive, it’s important to note that some platforms, like WpStream, provide these benefits without the technical demands of building your own solution.
WpStream offers the customization, control, cost efficiency, and branding advantages of your own server, with the added convenience of a ready-to-use, robust streaming platform.
How do you build a video streaming server?
Let’s now look at the major steps involved in constructing your own video streaming server to ensure a smooth, reliable video delivery.
Step 1: Define your requirements
Before embarking on the technical journey of constructing your video streaming server, it’s crucial to first establish a clear picture of your specific needs and expectations. The foundation of a successful streaming server lies in understanding the precise requirements of your service. Here are some critical questions you need to ask yourself:
- Audience size: What is the number of viewers you anticipate streaming for? This will heavily influence your server’s specifications, with larger audiences requiring more server capacity and bandwidth.
- Video quality: Your desired video quality will dictate the encoding settings you’ll need to implement. High-definition (HD) and 4K streams, for example, require more processing power and storage space than lower-resolution streams.
- Storage: Do you plan to archive copies of your streams? If yes, you need to estimate how much storage you will require. The duration and quality of your streams, as well as the frequency of your broadcasts, will be key factors in this calculation.
- Viewer location: Are your viewers located across the world? The geographical distribution of your viewers will impact your server’s location or the need for a content delivery network (CDN) to ensure a seamless viewing experience wherever your viewers are tuning in from.
- Access control: Who should be able to access your stream content? Do you want to restrict access to certain videos or offer a mix of public and private content? This will influence the security measures and access controls you need to implement on your server.
These considerations will guide the ensuing steps in your streaming server setup process. They will shape the infrastructure you need to construct, from server specifications and network setup to software configurations and security measures.
Pinpoint your specific requirements upfront, to plan more effectively and budget accordingly, ensuring that your streaming server is tailored to meet your unique needs from the get-go.
Step 2: Set up your server
Building your own streaming server doesn’t necessarily mean starting from square one. Thanks to the rich ecosystem of open-source projects focused on video streaming, you can kick-start your journey on a solid foundation.
Choose a project that aligns with your infrastructure, preferred media player, and content delivery protocols to save significant time and effort.
One widely favored choice is the Nginx web server. Not only does Nginx operate on a variety of platforms, including Linux, Windows, and macOS, but it also integrates seamlessly with the two most commonly used streaming protocols, RTMP (Real-Time Messaging Protocol) and HLS (HTTP Live Streaming). Its versatility and compatibility make it an ideal starting point for many looking to establish their own streaming server.
Leveraging the robust library on the Nginx web server, you can craft a streaming server that fulfills your specific requirements. This can include integrating additional tools and features like monetization options, custom video player configurations and controls, adaptive bitrate streaming for optimal viewer experiences, and enhanced security features.
Setting up your server involves more than just the initial installation. You’ll need to ensure it’s properly configured for your specific streaming needs, and you’ll want to conduct thorough testing to ensure everything is functioning as expected before you start streaming.
This phase is critical; a well-set server is the key to a reliable and scalable video streaming service.
Step 3: Install and configure your streaming software
After setting up your server, select and configure your streaming software. This software is responsible for encoding and broadcasting your video content, serving as the bridge between your source video and your streaming server.
For a free, open-source solution, we recommend OBS Studio. With its comprehensive and flexible feature set, OBS Studio stands as one of the most versatile tools for streamers.
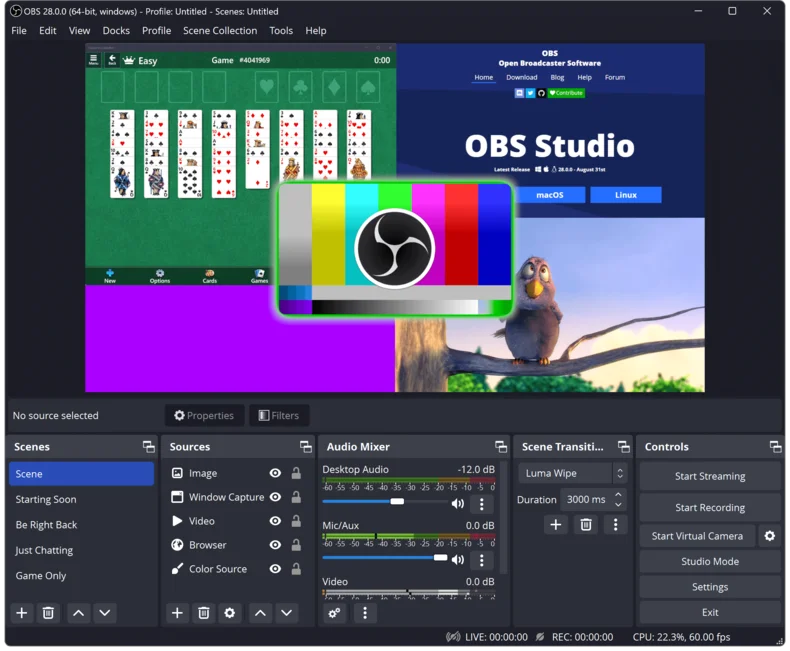
Its key features include:
- High-performance video/audio capturing and mixing: OBS Studio can capture high-quality video and audio in real time, ensuring your stream delivers clear and vibrant content.
- Easy configuration: Despite its power, OBS Studio remains user-friendly. It offers straightforward configuration options that make it easy to adjust your settings to match the specific needs of your stream.
- Extensive production options: With OBS Studio, you’re not just broadcasting video; you’re producing a show. The software lets you create scenes from multiple sources, adding depth and professionalism to your broadcasts.
To get started with OBS Studio, download and install the version that’s compatible with your server’s operating system. Once installed, run the auto-configuration wizard to set up the initial settings.
While this will give you a solid starting point, don’t be afraid to adjust these settings later on. Fine-tuning your configurations to match your specific streaming requirements is a vital part of the process.
Step 4: Set up your Content Delivery Network (CDN)
A smooth and uninterrupted streaming experience isn’t just a product of a well-configured server and optimal streaming software. Your global audience requires a robust infrastructure to deliver your content rapidly and efficiently, regardless of where they are located.
That’s where a Content Delivery Network, or CDN, comes into play.
A CDN is a network of servers distributed around the world to quickly deliver your video streams to viewers, irrespective of their geographical location, minimizing latency and buffering.
Establishing a CDN involves several considerations:
- Choose physical servers or cloud: You’ll need to decide if you want to deploy physical remote servers or use the cloud for your CDN. It’s essential to understand that your origin server’s choice doesn’t need to mirror your CDN’s remote servers, also known as Points of Presence (PoPs). The most effective solution will depend on your specific needs and circumstances.
- Select an Internet Service Provider (ISP): Your CDN will need a reliable ISP. This is an important decision since the ISP will directly impact the quality of your streaming service.
- Routing and caching software: You will also need to determine the software you’ll use for routing and caching. Routing software ensures your content is delivered to the right location, while caching software stores content closer to viewers to speed up delivery.
While setting up your own CDN can offer extensive control and customization, it can be quite a complex task. An alternative is to integrate with established CDN providers such as Akamai, Amazon Cloudfront, or Cloudflare. These providers have extensive global networks and expertise in content delivery, simplifying the process and offering a reliable solution.
Step 5: Set up your media player
Your media player is the final piece of the puzzle. This is the tool your viewers will use to watch your streams, so its functionality and compatibility are of utmost importance. You have two principal options when it comes to your media player:
- Use an existing player: Several reliable media players are available, with popular choices being VLC and HTML5 video players. These platforms are favored for their compatibility with various devices, user-friendly interfaces, and wide-ranging support for different video formats and streaming protocols.
- Create a custom player: If you want more control and customization over your player’s functionality and appearance, you can create your own. Using frameworks such as JW Player or Video.js, you can build a media player tailored to your specific needs. This might include customized control options, branding elements, and more.
The primary consideration in this step is compatibility. You must ensure your player supports your chosen streaming protocol and is compatible with the devices and browsers your viewers are likely to use. In an era where viewers consume content on an array of devices – from desktops and laptops to tablets and smartphones – cross-platform compatibility is crucial.
Drawbacks of building your own streaming server
Creating your own video streaming server can be a rewarding technical journey, offering unparalleled control, customization, and flexibility.
However, it’s not without challenges. Before diving into building your own server, consider the potential drawbacks compared to using a dedicated third-party streaming platform:
Technical complexity
Constructing and maintaining a video streaming server demands an extensive knowledge base, from server hardware and software to network protocols and video codecs.
Depending on your requirements, web development skills might also be necessary to integrate your video player into a website or app. Dedicated third-party platforms, in contrast, manage most of this complexity on your behalf.
Maintenance and upkeep
Servers require regular maintenance and updates to remain secure and functional. This isn’t limited to streaming software; it extends to the server’s operating system and any other software it hosts. Addressing hardware failures or software bugs can be costly and time-consuming.
Scaling challenges
Audience growth demands corresponding server capacity scaling. This could entail intricate tasks such as load balancing and CDN management. Third-party platforms generally manage scaling automatically, making expansion easier and more efficient.
Upfront costs
Building your own server can involve considerable upfront costs, especially if purchasing your own hardware. Add ongoing costs like electricity, network bandwidth, and possible server space rental, and the financial aspect becomes a significant consideration. In contrast, third-party platforms usually come with predictable monthly fees.
Security risks
With your own server, all security measures fall to you. This includes shielding the server against attacks and securing the video stream itself. Third-party platforms generally have robust security measures, backed by a team of dedicated security experts.
Reliability and performance
Achieving the performance and reliability offered by third-party platforms – with their large, geographically distributed server networks and redundancy systems – can be challenging and expensive with a DIY setup.
Limited support
When things go wrong, you’re largely on your own. Troubleshooting and resolving issues without a dedicated support team can be a daunting task. Third-party services often provide comprehensive technical support, making issue resolution quicker and less stressful.
While the idea of building your own streaming server might seem attractive initially, it’s vital to weigh these potential challenges against the benefits.
For many, the convenience, reliability, and support provided by a third-party service like WpStream may be a more practical and efficient solution.
Alternatives to self-hosting: A look at WpStream
While constructing your own streaming server offers certain benefits, it may not be the best fit for everyone. For those desiring the control and customization that comes with owning a streaming server but are averse to the complexity of building and managing one, a professional streaming service like WpStream could be the ideal solution.
WpStream is designed to alleviate the stress of setting up a streaming server, simplifying the process without compromising on control and flexibility.
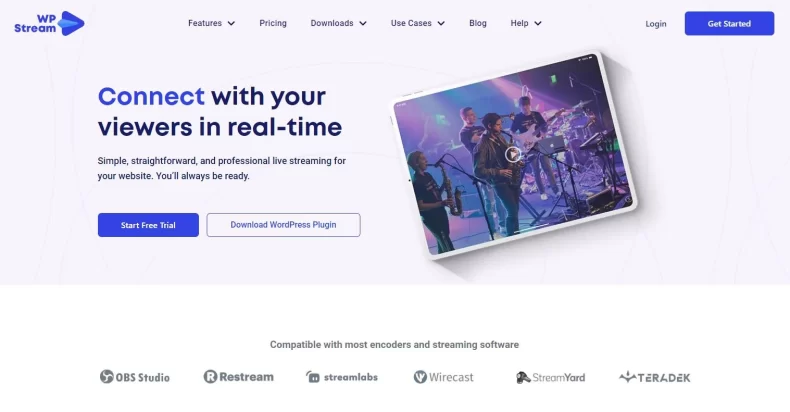
Here’s how WpStream stands out as a powerful alternative to building your own video streaming server:
Ease of use
WpStream simplifies the streaming setup, even for novices. All you need is a mobile device or a laptop with a webcam and the WpStream plugin. This ease of use means you can go from installation to live broadcasting in a matter of minutes, putting you in the action without a steep learning curve.
Control over stream content and appearance
WpStream offers full autonomy over what you broadcast, breaking free from the restrictive content guidelines of many third-party services.
Furthermore, as a white-label platform, you can customize the appearance of your streaming website, aligning it perfectly with your branding and design preferences.
Flexibility and extendability
WpStream goes beyond basic streaming. It’s compatible with most popular streaming software and multistreaming tools. Also, because it’s a WordPress plugin, you have access to a vast repository of WordPress extensions, letting you add features and functions as you need. For example, the WooCommerce integration makes monetizing your stream content extremely straightforward.
Scalable pricing plans
Whether you’re a newbie streamer or a streaming veteran, WpStream has a pricing plan that aligns with your needs. Plans are based on your streaming data and recording storage requirements, audience size, and more.
You can start with a free trial to familiarize yourself with the plugin’s features, then utilize the pricing calculator to select the most suitable plan.
Charting your path in the world of streaming
Building your own video streaming server is a route that promises significant control and customization. It allows you to design a server tailored to your specific needs, offering you the potential for data ownership and flexibility in content delivery.
However, this route also demands a high level of technical expertise, an investment of time and resources, and consistent effort in maintenance and scalability.
Balancing these benefits and challenges can be difficult, particularly if you’re new to the world of streaming or if you don’t have the necessary resources at your disposal. That’s where WpStream enters the picture, serving as a capable alternative.
With WpStream, you enjoy the customizability and control that come with owning a server, without the intricate technicalities and logistical difficulties of building one yourself.
WpStream delivers ease of use, flexibility, and extendibility while ensuring that the streaming setup is within your control. Moreover, with scalable pricing plans, you can start small and grow big as per your audience and streaming needs.
If that sounds like a sweet deal, why not see for yourself? Start with a free trial today, and take the first step towards effortless, efficient, and empowered streaming.
Dive into the world of streaming with confidence and ease, and let your content shine without the technical hurdles!
Table of Content