Updated February 9th, 2026
If you are new to Live Streaming and want to create your Video Streaming Website similar to Twitch or YouTube, you’ve come to the right place. This series has a total of 5 articles/tutorials. This first part will be all about GOING LIVE on your WordPress website. Here are all the parts of this series:
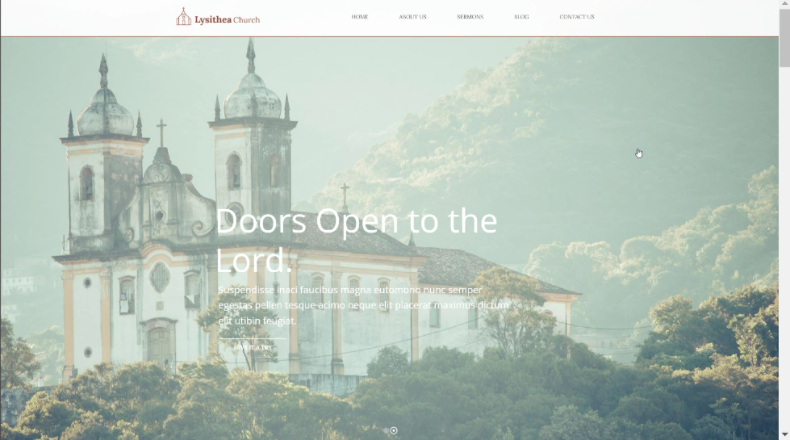
Finding a Theme
The first thing you need to do is set up a WordPress website, of course. After you have your website ready, the next part is finding a theme for your website. You can go to your WordPress Admin, Click on ‘Appearances’ and then on ‘Theme’. You will find a few options here or you can look up new ones. Check out ‘Themeforest’ for a vast array of theme options that you can purchase.
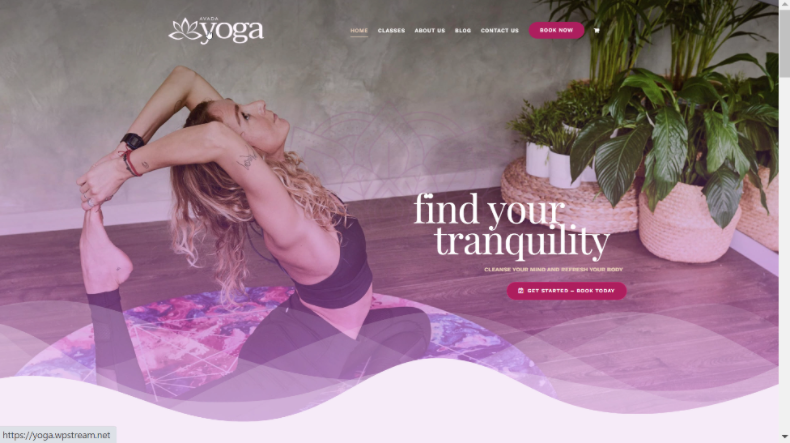
We have a few demos of themes that we set up. These themes are all tried and tested by us with the WpStream plugin and we can assure you that you will have a smooth time setting up your video streaming website.
Here are our Demos:


Install and Activate WpStream
Go to your WordPress Admin and then to ‘Plugins’. Click on ‘Add New’ and then search for WpStream. Alternatively, you can go to WordPress, download WpStream, and then ‘Upload’ the plugin to your WordPress
The next step is adding your credentials to connect to WpStream. You can register or login if you already have an account.
Create your Channel
Go to ‘Free-To-View Live Channels’ and ‘Add New’. Write your title, description, add a featured image, tags, and categories. Once you are happy with all these details, ‘Publish’ your channel.
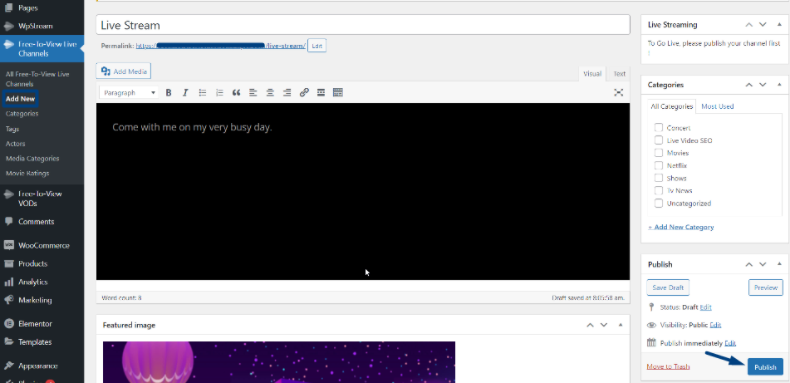
You will now see this pop up under ‘Live Streaming’ on the right hand side. Click on ‘Settings’ if you wish to edit them before going LIVE.
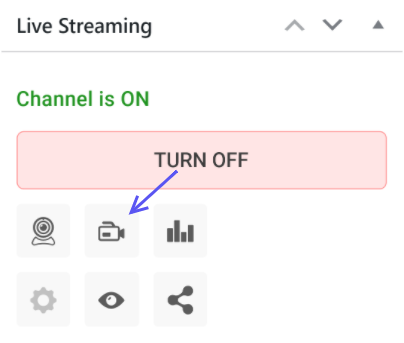
As part of this series, I will enable ‘Record’ so that I can create a Video-On-Demand in Part 2 of this series. Once you read through all the settings and enable/disable whichever one you wish, exit the pop up. Now, click on ‘TURN ON’ Channel.
Once your Channel is on, click on ‘Go Live with an External Streaming App’
GO LIVE
Another pop up will appear where you will find a drop down for different Streaming App options as well as the Server and Stream Key that you will need for each. Instructions Included below each App!
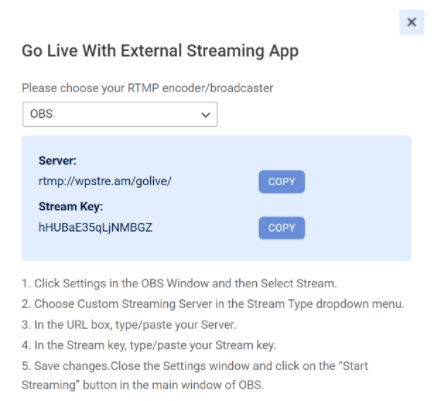
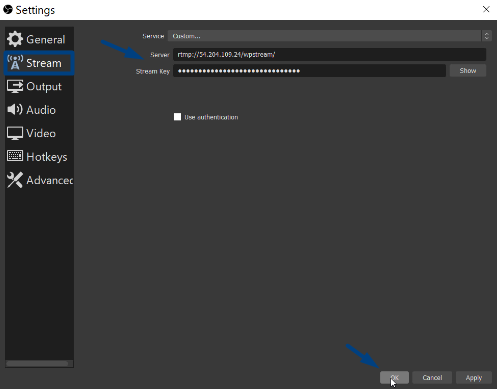
Now, open OBS Studio. OBS Studio is a free Pro Tool that you can use to broadcast LIVE events. You can download it on Windows, Linux, and macOS here. Click on ‘Settings’ and then on ‘Stream’. Here is where you will choose ‘Custom’ (as in Custom RTMP destination) and Copy/Paste the Server and Stream Key from WpStream to OBS in the appropriate sections. Click ‘OK’
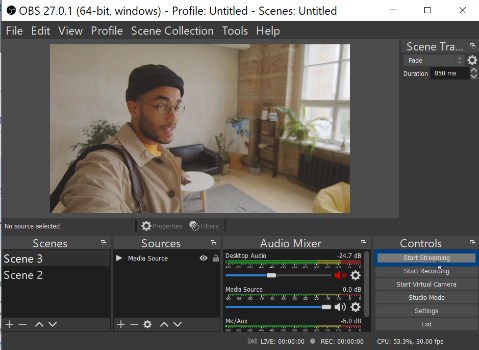
Click on ‘Start Streaming’
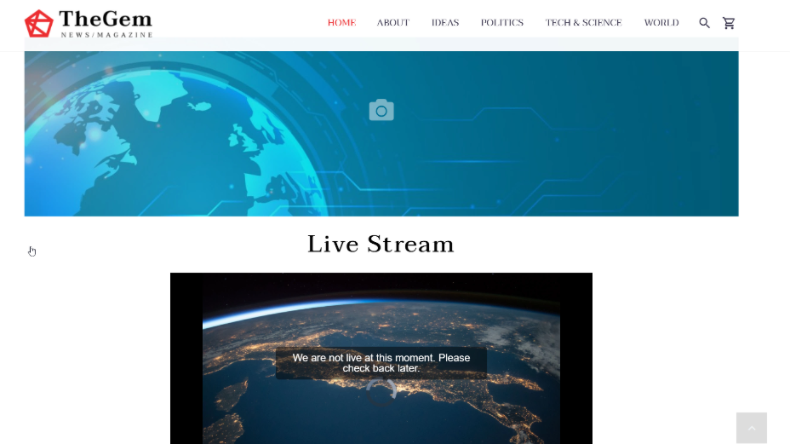
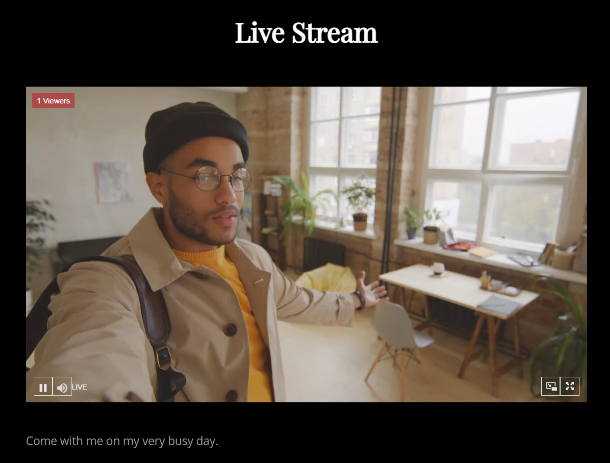
If you go back to your WordPress Admin on WpStream, you can now click on ‘View Channel’ and it will take you directly to your live stream.
And here is your live stream! Your viewers can watch it full screen or go Picture-In-Picture and watch while doing other things on different tabs.
Once you are done streaming, simply go back to OBS Studio and click on ‘Stop Streaming’. You will find that your live stream would have stopped.
You can also edit the OFF-AIR text by following the instructions in this article.
Conclusion
This was it for the first part of the series on ‘Creating your Video Streaming Website’. In this article, we showed you how you can change your theme and gave you a few ideas of some tried and tested themes. We created demos for you to check out and see how the WpStream Video Streaming plugin works on each.
Furthermore, we also ran your through the process of setting up a channel, going LIVE with OBS Studio on WpStream, and Recording. You can also check out this page for instructions on how to use other Streaming Apps or ‘External Broadcasters’ with WpStream.
In Part 2 of this series, we will be showing you how to take the recording of the Live Stream and create a Video-On-Demand that you can add to your website. These VODs are useful if you wish to provide another means for those who missed your live stream to check back and catch up.
We have also created a list of Video tutorials that explains each and every part of creating a video streaming website, also named as ‘Creating your Video Streaming Website’. You will find the first part of this playlist on our YouTube Channel. Don’t forget to subscribe and hit the notification bell 🔔

Start your free trial with WpStream today and experience the ability to broadcast live events, set up Pay-Per-View videos, and diversify the way you do your business.
Table of Content