On-demand video is moving away from the old-age video rental stores and coming directly onto your mobile, tablet or laptop. People are wondering how we can create a sports streaming website. You can check out how to live stream on your website. If you want to create other Pay-Per-View websites based on niche, you can check out live streaming for Churches, Education, or fitness video streaming websites.
Viewers now have access to cheaper, higher quality videos of just about anything – blockbusters, documentaries and of course, live sports events. This article is a tutorial on how to create your own live pay per view sports streaming website with the WpStream.
Prerequisites
Before going through with this tutorial, you will have to follow our previous guide on installing the WpStream theme and importing the demo content. The complete guide is available:
Also, please keep in mind that when doing the import, you should choose the GoLive Demo, focused on sports streaming, and not the Hollywood Demo, which is designed for Videos on Demand or VODs.
WpStream “GoLive” Demo Features & How To Build Them
Building your own live pay-per-view sports streaming website is quick and simple with WpStream. Let’s see how we can recreate the different elements from the “GoLive” demo home page.
Header Media
Adding Your Header Media when you create a sports streaming website
To edit your header media options, edit your homepage with WpBakery and go down to “Appearance Options”. Here you have different types of media available, including sliders, videos, revolution sliders or images. We are currently using an image which you can replace easily.
Recent Pay-Per-View Events
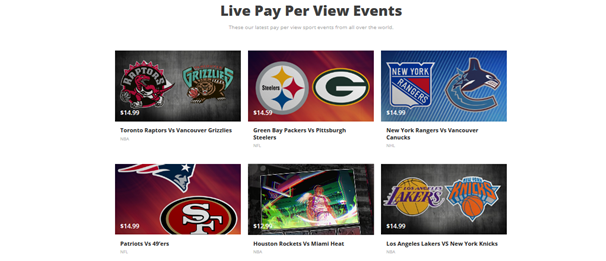
Adding Recent Pay-Per-View Events
- Our “GoLive” demo recent events section is built with a text block, a separator and a recent items shortcode. Let’s take a look at how it’s done.
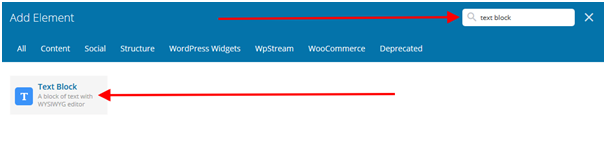
- First, search for the text block shortcode, and then add it to your page
- After adding your heading text, you can also use the text editor to add a few customization options
- Here is the code that we used, for reference:
“<h2 style="text-align: center; font-size: 40px; font-weight: bold;"><strong>Live Pay Per View Events</strong></h2>
<p style="text-align: center; margin-top: 10px;"><span style="color: #a8a8a8;">These our latest pay per view sport events from all over the world. </span></p>”
- With the heading text out of the way, we need to add an empty space to give this section some breathing room. Search for the empty space shortcode, and add it to your page after the heading
- You can also change the height of the empty space
- Now it’s time to add the recent items shortcode. Please note that this is the recent items shortcode and not the recent items slider
- In the “what type of items” section, make sure to select “products”
- You can also select the number of products to display and the number of products per row
Featured Product Type 3 Section
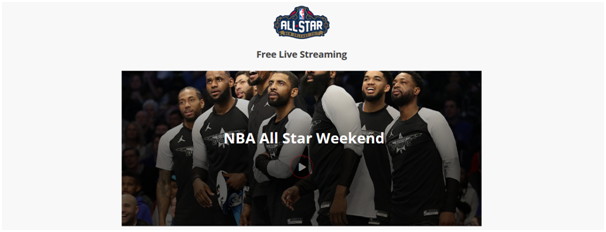
Adding a Featured Product Section
- Our featured products section features an image or logo, a heading and a featured product. We can achieve the same result by adding a single image shortcode:

- The text block can be customized further with code. Here is ours for reference:
<h3 style="text-align: center; font-weight: bold;">Free Live Streaming</h3>
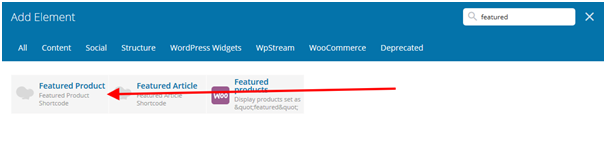
- Lastly, we will have to add a featured product shortcode
- You will have to add your product ID, and pick from one of the three design types
Featured Product Type 2 Section
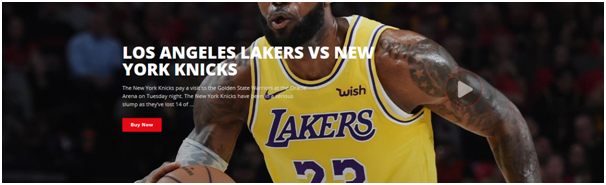
Adding a Featured Product Type 2 Section
To create this section we will first have to add a featured product shortcode:
Once you have added the shortcode, edit it and add your Product ID, set design type to “2” and add a background image
Featured Categories Section
Adding the Featured Categories Section
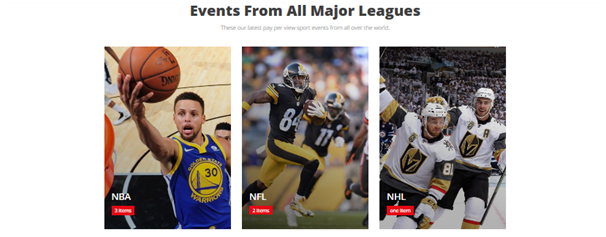
- The GoLive featured categories section is built with a heading, a subheading and 6 display categories shortcodes, divided into a grid with 3 categories per row
- To build it, we will have to add our heading by using the text block shortcode.
- The text block can be edited further. Here is the code we used for the heading and sub-heading:
“<h2 style=”text-align: center; font-size: 40px; font-weight: bold;”><strong>Events From All Major Leagues</strong></h2>
<p style="text-align: center; margin-top: 10px;"><span style="color: #a8a8a8;">These our latest pay per view sport events from all over the world. </span></p>”
- Add empty spaces to make the page look less cluttered
- This is what this section looks like so far. Please note that we will have to divide the bottom section into three equal parts.
- We split the section into three equal parts, now it’s time to add the categories for each
- We can do this with the display categories shortcode
- After adding the shortcode, edit it and fill these sections
- Select your category, set design type to 1 and height to 500 pixels. You will have to do this for all 6 display categories.
Recent Items Slider
Adding a Recent Items Slider
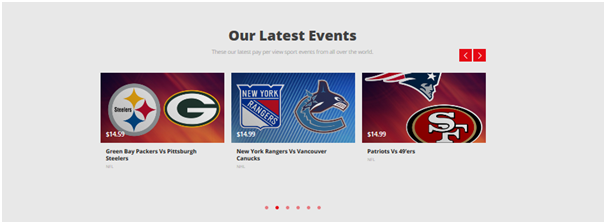
- Our recent items slider features a heading, subheading and the slider itself. First you will have to add the heading and subheading by using a text block shortcode
- You can further style the text with code – here is ours for reference:
<h2 style="text-align: center; font-size: 40px; font-weight: bold;"><strong>Our Latest Events</strong></h2>
<p style="text-align: center; margin-top: 10px;"><span style="color: #a8a8a8;">These our latest pay per view sport events from all over the world. </span></p>
<span style="display: inline-block; width: 0px; overflow: hidden; line-height: 0;" data-mce-type="bookmark" class="mce_SELRES_start"></span>
- With the text block out of the way, it’s time to add the recent items slider
- You can set what to display in the slider (articles, products or free products) as well as items from different categories
- You can also set the number of items you want displayed in the slider
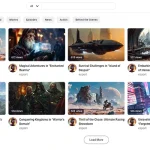
Featured Articles Section
Adding a Featured Articles Section
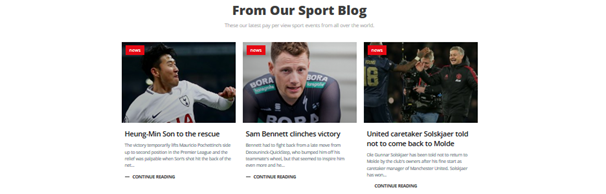
- The featured articles section is built with a text block, an empty space shortcode and a recent items shortcode.
- First, we will have to add the text block shortcode:
- As usual, here is our text code for reference:
<h2 style="text-align: center; font-size: 40px; font-weight: bold;"><strong>From Our Sport Blog</strong></h2>
<p style="text-align: center; margin-top: 10px;"><span style="color: #a8a8a8;">These our latest pay per view sport events from all over the world. </span></p>
- Next, we will have to add the empty space shortcode
- Now it’s time to add the recent items shortcode
- Set the recent items slider to display articles
- With the above options you can also change the number of items to display and the number of items to display per row.
Conclusion
As you can see, building your very own pay per view live sports themed website is very easy when using a flexible platform like WpStream.

Table of Content